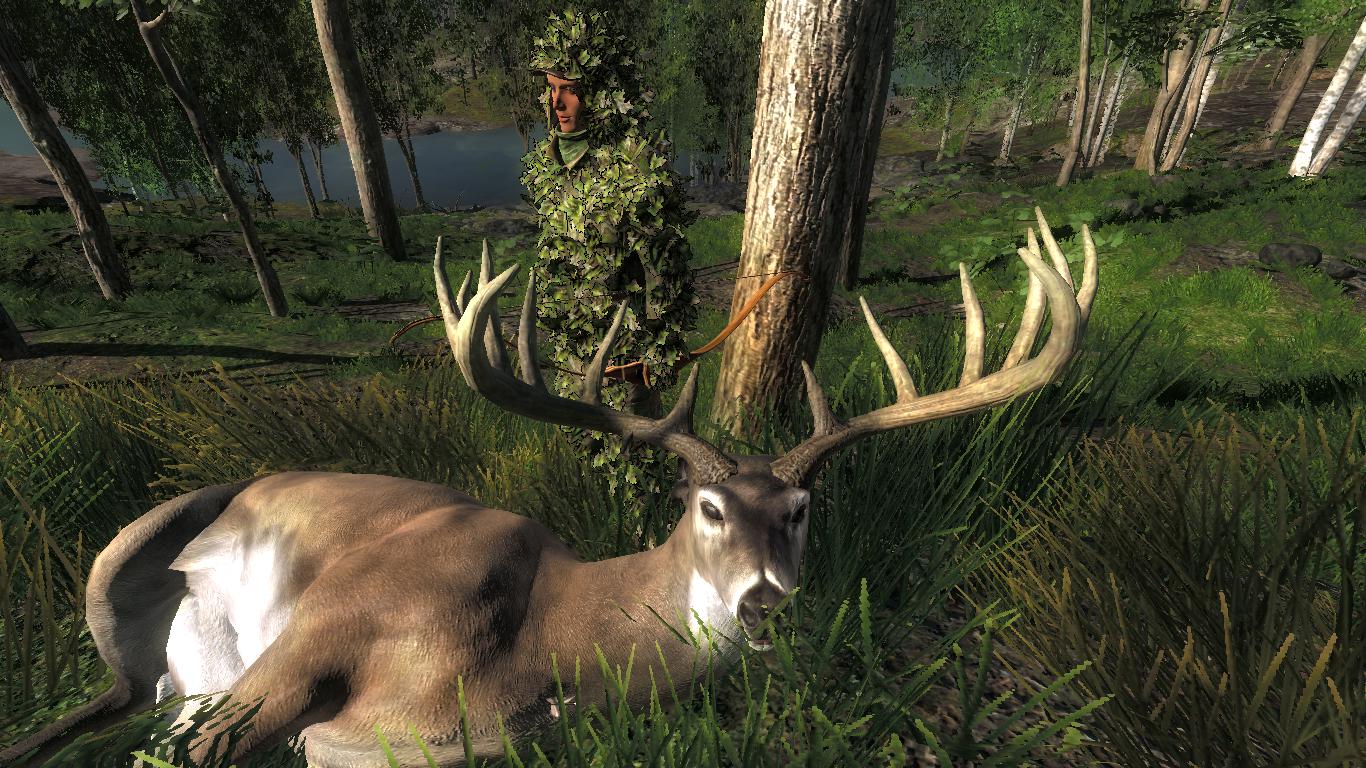
Community Spotlight: Bow building tutorial with InstinctiveArcher

Hello Hunters,

Welcome to the second part of the Community Spotlight with Trenton aka InstinctiveArcher, who will show us today how to build a bow from scratch. In case you have missed the first part you can find it here 

And now without further due, I‘m handing over to Trenton to show us how it’s done!  

For this bow building tutorial, I’ll will be building a laminated fiberglass recurve bow. I’ll try and describe the process in detail, and share pictures along the way to help describe each step. Obviously, not every little thing will be included, but I will try and cover all of the main points.

Enjoy!

Step 1:

The first step in building a laminated bow is making the handle, known as the riser. It is important to make the riser square and smooth, so that the laminations will attach firmly when glued and not have gaps. For this bow, I made my riser out of brazilian teak, maple, and mahogany. This wood combo looks really pretty together, and since teak is a heavier wood, it will absorb some of the handshock from the bow that would otherwise make it a bit uncomfortable to shoot.

Step 2:

The second step is gluing the entire bow up and putting it into the form. My laminations consist of two strips of fiberglass and two wood veneers made from bocote. One pair of laminations are the parallels, which maintain the same thickness throughout their entire length. The other pair of laminations are called tapers, since they taper by 1/1000 inch of thickness per inch of length. Before gluing everything up, I cover the bottom of the form in clear kitchen wrap so that the bow will not stick to the form. I also cover the bow with another layer of kitchen wrap after I glue it up so that the bow doesn’t stick to the pressure hose and upper half of the form. The epoxy that I use is a two part epoxy made specifically for bow building called Smooth-On. I epoxy all surfaces then stick them into my form. I run a pressure hose between the laminations and the top half of the form. Then, after I clamp down the top half of the form, I inflate the pressure hose to 60 psi. This squeezes everything tightly together so that their are no air pockets or dry spots.

Step 3:

Once the bow comes out of the form, it is covered in hardened globs of epoxy and kitchen wrap. I break of some of the major globs with a hammer and chisel, but it is really important to be careful around the bow since you can do a lot of damage with the chisel. I then take the bow to the belt sander and finish cleaning it up. It is really important to keep all the edges parallel when doing this, and if it doesn’t all come off, that’s fine. Lots of the extra epoxy will be cut off anyways.

Step 4

After I get the bow cleaned up, I use a template to trace the limb tapers onto the limbs. I cover the fiberglass with tape so that I can draw on them easily. I then take the bow to the bandsaw and cut the the tapers out, being careful to leave plenty of extra material in case of a mistake. When cutting fiberglass on a bandsaw, you are going to go through a lot of blades. After I finish on the bandsaw, I take the bow to the belt sander and continue to sand the limbs down to the lines.

Step 5:

After I get this all done, I glue on what are called the riser overlays. This just allows me to shape the riser a bit better. I then take a round rasp and file in the string nocks. This allows me to put a string on the bow and see how it bends. This is called tillering, and is perhaps the most important step in building bows. It is very important to make sure that the limbs are bending evenly, otherwise the bow may break if one limb is stressed more than the other. I can adjust the tiller by sanding some material off of the stiffer limb. I don’t take of to much at a time, because sometimes all it takes is a little bit of sanding to bring the limbs into proper tiller. Tillering is a bit more difficult on a recurve than on a longbow, but after a little practice, it becomes fairly easy. I generally leave one limb just a little bit stiffer than the other and designate this as my lower limb.

Step 6:

After tillering, I glue on a piece of phenolic to both limb tips. This reinforces the bow’s tips every time that the bow is shot. It is especially important to do so if you plan on using a fast flight string, since it has very little stretch and is less forgiving when shot. Since so much force is exerted every time that the bow is shot, the tips would eventually break if using a fast flight string. I generally don’t use them, since at most I’ve only noticed that I pick up 5-6 fps. After gluing the tips on, I got to work with a rasp and sandpaper in order to shape them.

Step 7:

After I get the tips finished, I take the bow to the band saw and rough out the riser shape, cutting out the sight window and roughly shaping how I want the riser to look. After that it is all sandpaper, rasps, and elbow grease. This part of building a bow takes a while because I want the riser to fit my hand well. Every so often, I string the bow, pull it, mark with a pencil all the places on the riser that don’t feel right in my hand, then go after those spots until I have them shaped how I want them. A bow with an uncomfortable riser is just no fun to shoot.

Step 8:

The end is finally in sight. Everything is how I want it, the bow is tillered, limb twist removed, and the riser shaped. Now all there is to do is add a finish. It is important to use a finish that is flexible. If you have a finish that won’t bend, such as lacquer, it will chip off every time that bow is drawn and limbs bend. Some people put a stain on their risers, but I prefer a more natural look. I use polyurethane because it is waterproof and protects the bow from dings and scratches when out in the field. Also, if need be, you can easily sand it off, make some adjustment to your bow, then spray it back on. I generally do 4 coats of finish on the riser, and 2 coats on the limbs. I sand with 600 grit sandpaper in between each coat.

Step 9:

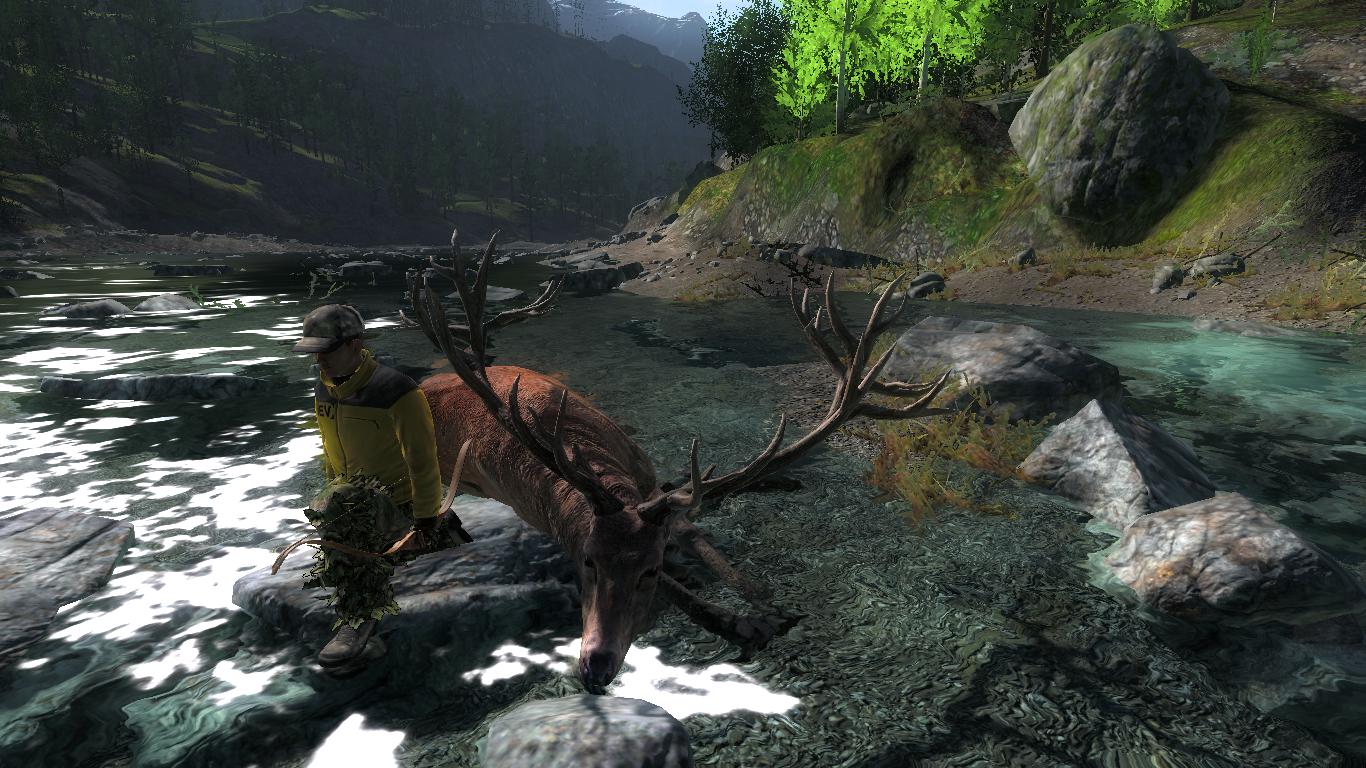
Now we have a finished bow. It pulls 75 pounds at a 28 inch draw. With my draw length being around 29 inches, the bow is pulling roughly 78 pounds. What started out as a pile of crude materials has transformed into a beautiful and lethal hunting weapon. I’ve tried to explain the process as best that I could, although I am by no means an expert. It’s really not that difficult, and I highly recommend that everyone give it a try if they get the chance. I’ve heard too many people say “Wow, I’ve always wanted to do that someday.” Don’t wait for someday, just do it.

Trenton is currently working on his next project, a Deflex/Reflex Longbow which is going to be pretty exciting.

Thank you very much Trenton for sharing your fantastic craftsmanship and skill with us in this interesting tutorial. If you want to discuss the tutorial or leave some nice words for Trenton you’re welcome to do so in this thread, in the official theHunter Forums.

Cheers,

Stefan

Share this
Facebooktwitterredditmail

Community Spotlight: Archery & how to build a bow with InstinctiveArcher

Hello Hunters,

Welcome to the new blog series, Community Spotlight for theHunter. For today’s episode I talked to Trenton aka InstinctiveArcher, a member of theHunter community, about his passion for archery and bow building. If you have missed it, we have a great looking Heavy recurve bow in theHunter Classic inspired by one of the bows Trenton built in real life. In the 2nd part of the series, on Wednesday, we will then also learn more about the building process of that very bow in a detailed tutorial. I hope you’ll enjoy it as much as I did 🙂

What is your name and where do you come from?

My name is Trenton, and I’m from beautiful Northern Michigan.

How long have you been playing theHunter for?

I have been playing theHunter for about 2 years now, maybe a little bit less. I started out as a guest player for about 6 months, and then finally was able to buy a membership, which made the game experience even better.


What was the moment that made you become interested in archery?

I guess what really got me interested in archery and bowhunting was watching my dad shoot his bow. It was a compound bow, which he worked on and sighted in himself. I remember sitting in the garage in the evenings, being amazed at the way that he could work on that bow as if it was second nature. When I was 6, I got my first bow, a red fiberglass compound. I shot that bow a ton. It got to the point where there were more holes on my target than there was foam. As I got older, my dad would buy me a new bow periodically, until eventually I worked up into a 60 pound Diamond Liberty.

I hunted with that bow for two years before really getting serious about the traditional side of archery. I had always taken sticks and tied string on them just to see if I could make my own bow, and that eventually led to me wanting a read traditional bow. I read every article, webpage, and book that I could on traditional archery. Having no experience with trad. archery, my dad wasn’t able to help much. I eventually found a great deal on a used recurve bow, and after an extremely long week, I came home to a long box on the front porch. I wouldn’t be surprised if I’ve put over 10,000 arrows through that bow. I have since then purchased four other traditional bows. However, my real passion is building my own. That first recurve really opened my eyes to how much fun traditional archery is, and my addiction has only grown, as well as my bow collection, and I don’t see either stopping anytime soon.

Do you hunt with bows in real life and if yes, which prey do you usually go for?

Yes, I absolutely love to bowhunt. If gun season never happened, and it was just one long bow season, I would be fine with that. My real passion is bowhunting whitetail deer. They are extremely smart, and getting within bow range is a real challenge. I’ll never forget the rush of adrenaline and emotions the first time that I killed a deer with a traditional bow. I sat in my stand shaking, crying, and laughing all at the same time. Besides deer, I also hunt turkeys, and have hunted black bear a few times. My dream hunt would be an Alaskan moose with a longbow, but I don’t know if that will ever happen. I’ve also done a bit of small game hunting, mostly squirrels and rabbits. However, the whitetails are my real passion.

How and where does one learn to craft a bow? Did you teach yourself to do it?

There are countless resources out there for someone who wants to build their first bow. The Internet has provided some incredible opportunities to read articles, as well as contact other bowyers and pick their brains. You’ll find that almost all are more than happy to help you out. Obviously, learning to build bows takes practice. In order to learn to make bows, you are going to learn how to break them. That’s just part of it. I remember when one of my first bows blew apart in my hands. I just stared at the pieces in shock for a minute, realized what I did wrong, tossed the pieces onto a pile of firewood and started another one. You definitely can’t let a failure deter you, because you are almost guaranteed to break a bow at some point. I am semi-self taught, but I have asked many people for advice in learning to make bows, which has saved me a lot of headaches and a bit of money as well. I like to do things myself, and figure out how to do things on my own, but I’m not above asking for help if I need it.

InstinctiveArcher with one of his trophies

What are the top 3 things you have to take care of when crafting a bow?

This question is tough, because there are different thing to look for when crafting different types of bows. One thing that you need to pay attention to no matter what kind of bow you are making is detail. Bow making can be a game of centimeters. One small miscalculation could be the difference between a sweet shooting bow and a handful of splinters. On a selfbow made from a single piece of wood, attention to detail is incredibly important. One must pay special attention to an all wooden bow to make sure that there are no cracks, also called chrysaling, which shows that bow is overstressed in that area and could break if not fixed. On a fiberglass bow, it is important to continually check the thickness of the limbs with a pair of calipers.

The second most important thing when building a bow is tillering. Tillering is the process of removing material from the limbs in order to make sure that they are both bending evenly. If a bow is not properly tillered, one limb will be overstressed in comparison with the other, and this may cause the bow to break. Also, on an improperly tillered bow, the limbs will spring forward at different times, rather than in unison, which will cause lots of hand shock and erratic arrow flight. I use a tillering stick to tiller my bows, and it works well. I take the stick, which is about 18 inches long and has a groove cut in the top, and stand it on the belly of the bow riser (the part facing the shooter). I then pull the string on the bow up and slide it into the groove. This allows me to view the bow as it would look when drawn back and see any parts of the limb that aren’t bending evenly.

The third most important thing that I pay attention to only applies to laminated fiberglass bow. It is essential to have a good glue line. This means that all laminations are firmly epoxied together and have no gaps anywhere. If there are gaps in your glue line in the bow limb, this will be a big issues. The only way to fix it would be to sand until it is gone, but depending on how deep the gap is, this may not be possible. If the gap runs completely across the limb, then there is no sense in risking using that bow, and it is best to start a new one.

Where do you get the materials for crafting – Can I just walk into a DIY store and buy them?

I buy my bow materials from a company called Bingham Projects. They are a fantastic company which offers any materials that you need, as well as complete start up kits for those who wish to learn to build bows. These kits include blueprints for the bow form, as well as all other materials that are needed to make your first bow. I don’t know of any DIY stores that sell bow making material, and I would recommend using a supplier such as Bingham’s when ordering your supplies. Since bow many materials for making bows are specifically made for bows, I think that it is important to order from someone who specializes in that sort of thing. One of my friends built a bow one time with store bought epoxy, rather than using the recommend Smooth-On for bow building, and his bow ended up delaminating.

If one wants to make a selfbow, than you will need an actual log, or half log, from which you will split out sections of wood to make a bow out of (known as a stave). Depending on what kind of wood you have around you, you can go out and cut your own (Also depending on what kind of regulations apply to cutting timber in your area). The best woods for bows would be yew, osage, hickory, ash, or locust. When cutting a log, I usually look for one about 6 inches in diameter and about 7 feet long. It’s important to cut green wood and not dead. The hardest part about gathering materials this way is that you need to let the wood dry and season, which can take up to five years. Some of the best osage bow ever made have been from osage fence posts that have been in the ground for 40-50 years!

InstinctiveArcher in Val-des-Bois

How much time do you spend on average crafting a bow from scratch until it is ready to be used?

Well, that all depends on how motivated I feel, how smoothly the build goes, as well as what kind of bow I’m making. Most people who have much more time than I do can generally get a laminated bow done in about a week or two. As those who followed the thread on the forum last year know, that particular bow took me about 6 months due to some setbacks and limited time to work on it. Someone who has much more experience than I do can make a working selfbow in as little as one day. Mine took about 3 weeks. It’s definitely one of those things that the more you do it, the easier it gets.

Do you accept orders or is this a purely recreational hobby for you?

This is only a hobby. I’ve had people ask me if I take orders, and I always tell them that I simply don’t have time. Being a senior in high school, I don’t have a ton of extra time, and I would be worried about not being able to complete a bow for someone within a reasonable amount of time. Besides, the better I get, the better the bows are looking and I don’t want to part with them!

If you could change one thing in theHunter, what would it be?

That’s a tough one. My biggest wish for theHunter would be improved AI. As of right now, animals always come to calls, and can be approached fairly easily. I would really like to see animals be a bit more wary, and maybe even circle to get downwind when coming into a call. Continuing with the AI, I would love some animal interactions. With the introduction of wolves, and with them chasing other animals, I feel that this is a huge step in the next direction. Now to just expand that to other species, such as deer fighting.

Lots of people ask me why I shoot traditional bows as opposed to a faster compound or crossbow. The simple answer is that it is more enjoyable. To be honest, I got bored shooting a compound. I could drill a bullseye at 40 yards every shot, but it just wasn’t fun. I would go out, shoot 5 or 10 arrows, then quit because I was bored. Ever since I switched to a trad bow, I have been outside shooting hundreds of arrows almost every single day (except during deer season when I’m out hunting). I never get tired of it. Something about simply focusing on a spot, subconsciously drawing and releasing the bow, and watching the arrow arc through the air and bury in the spot that you’re focusing on is almost magical. It’s relaxing and exhilarating at the same time. I can’t explain it any better than that.

I am also asked quite frequently why I would hunt with a bow that limits my chances at game animals. The truth is, I don’t. I’m convinced that once someone has learned to shoot a traditional bow well, they are much more effective in the field than they would be with a compound. Several of the animals that I have taken, I guarantee I would not have gotten them with a compound bow. A traditional bow has no sights, thus no need to worry about the exact distance of an animal. As long as it is within your personal boundaries in which you can accurately shoot, don’t even think about distance. When shooting instinctively, your mind automatically tells your hand how much it needs to elevate the bow in order to hit the spot where you’re looking. It also allows you to shoot quickly. I can get an accurate arrow off in less than 1 second, which is extremely beneficial for when you need to make a quick shot at an animal.

This snap shooting style is smooth and fluid, as well as accurate and deadly. It also aids in shooting at moving targets. Once, when out rabbit hunting with a buddy, his beagle ran a rabbit past me about 12 yards away. I didn’t really think about it, I don’t even remember drawing the bow. All I remember is suddenly my arrow was in the rabbit and it was flopping on the ground. That shot simply wouldn’t have happened with a compound. The final reason is that I just have more fun in the woods with a traditional bow. It just feels right. When I’m carrying a trad bow afield, it doesn’t feel like a piece of equipment, but more like an extension of myself. It’s a really special feeling.


Thanks a lot, Trenton, that was a very insightful and interesting read. Some of you may ask: ‘But…how do I build a bow now?’ Don’t worry, we’ll get right into that in part 2 of the community Spotlight on Wednesday, with a detailed tutorial on how to build a bow from scratch.

Here you can find the Blog’s discussions thread on the official theHunter forums. 


Share this
Facebooktwitterredditmail